I’ve been putting this off because I already have about 2 dozen hours invested in this repaint and still have probably at least one more.

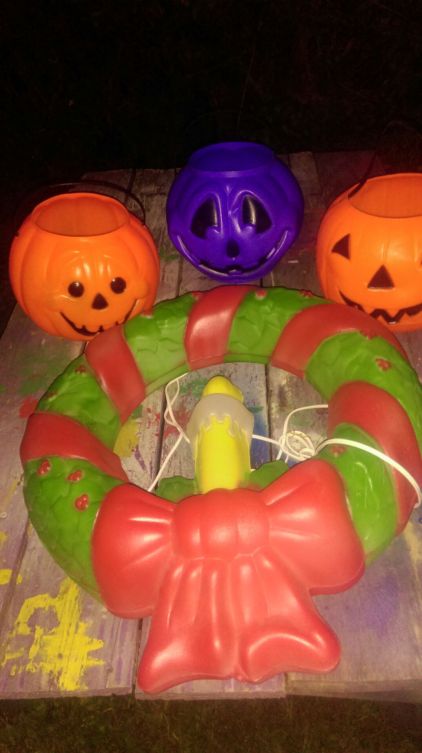
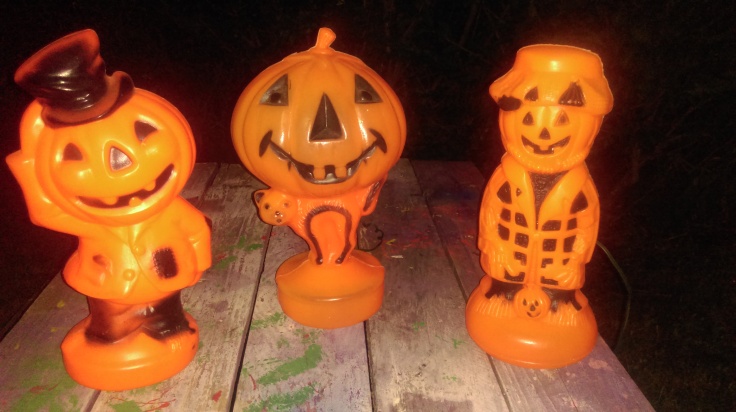
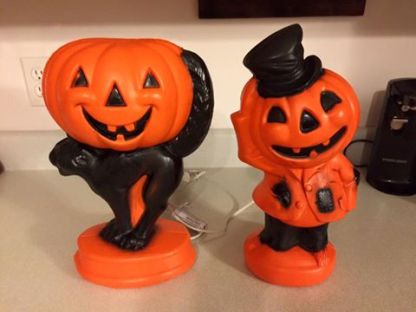
Looking back, I just realized I repainted all 4 molds i got in the $10.00 lot. I’m a little upset someone snagged the small snowman before me, but I think I still got 4 solid pieces! Now they should all be good for another 35 years!


VINTAGE 48″ POLORON SANTA
The Restoration
1. Strip the mold.
This is absolutely my least favorite part. It smells, the stripper burns if you’re not careful, its almost reverse progress. But it has to be done!
I’ve heard other people use different brand strippers and I’ve seen people who even use oven cleaner. I guess you just find what you like and are comfortable with.
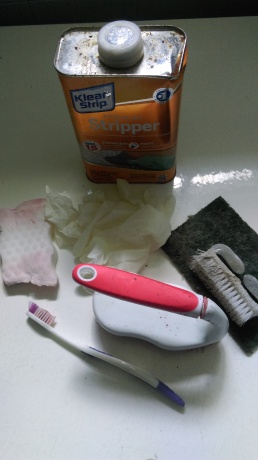
This is pretty much my strip kit minus rags (i just use old shirts) and a hard plastic bristle brush I seemed to have misplace.
Holly Jolly Vintage Strip Kit
- Kleer Strip
- Magic Eraser
- Emery Pad
- Scrub Brushes of different sizes
- Latex gloves
- Rags
- Ammonia
- Water
- In a well ventilated area wash your blow mold with ammonia and a scrub brush. This will get a lot of the dirt off and some of the loose paint. Allow the mold to dry.
- Also, while in a well ventilated area apply a coat stripper to a small area of blow mold. I usually do about a 12″x 12″ section. Be careful not to leave the stripper on to long and melt the plastic. I’ve never had any problems melting the plastic with Kleer Strip,but I’m sure if you left it on too long it could happen.
- After you spend a billion hours getting the paint off ,sometimes you’re left with a tinted plastic or “blush”. This is where you use your Magic Eraser, the eraser will get you to a nice white base.
- Before moving on to the painting I wash the mold with dish soap to remove any residue and then again with ammonia. This will allow the tape and paint to stick.
I had a really neat time lapse of this but I cant find it. ![]()

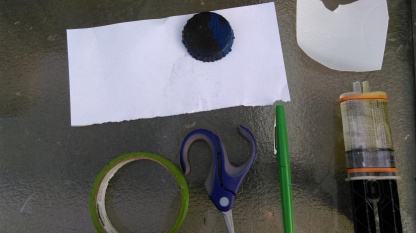
Fill and patch holes

")
I had few holes and cracks to patch and fill.
Heres what I did!
- Epoxy
- Hot Glue
- Replacement plastic (I used a milk jug)
- Tape
- Marker
- Crayon
- Paper
For the boot, Santa’s sack, and the crack in his eyebrow I just used hot glue. I applied the glue and once cooled I heated up a spoon to smooth it out. The hole on the boot wasn’t that noticeable to begin with, otherwise I would have patched it like the horn.
PATCHING THE MOLD
This was the first mold I had to patch and I sort of just winged was it.
This went way better than I had expected.
The first thing I did was take the paper and do a “grave rubbing” of the hole with the crayon and paper. Then I cut out the paper and traced it onto the plastic and cut out the plastic. I used a piece of the milk jug that had a bit of a fold on it so that worked really well.


Next step was to fasten the patch to the mold. I taped the edges of the plastic and mixed and applied the epoxy. I then placed the patch over the hole and let dry. After it dried I filled in a couple small holes with epoxy and smoothed it over with hot glue.


As you can see in the image of the stripped mold, it turned out fairly well. Once everything is patched and filled
Tape the Mold
- Frog tape
- Masking tape
- Magazine/ Newspaper
- Xacto Knife
- Scissors
This is almost as bad as stripping the mold but at least you are getting close to seeing progress!
I generally start by painting the shade that covers the most area. In the case of this Santa it was obviously red. I use Frog Tape on the edges following the shape of the Blow Mold. Cutting away excess tape with the Xacto knife. I fill in the areas I can with newspaper and magazines. I wish I would have had masking tape to hold the paper to the Frog Tape , but I was excited to finally get paint on him, so I just used what I had.

Time to Paint
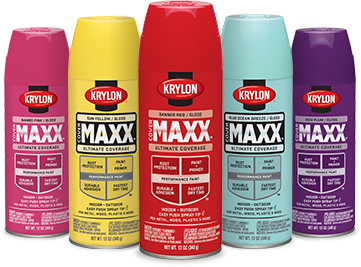
- Paint
I use Krylon Maxx Spray paint, again this is personal preference .
After each coat put the light in the mold and check for runs and bare spots. You would be surprised what you would miss when not lit up. If you think. the paint is too dull add another coat. If you have runs, I just strip the paint from that section (very carefully),clean the area and repaint.
Let each coat and color dry entirely before moving onto the next color.
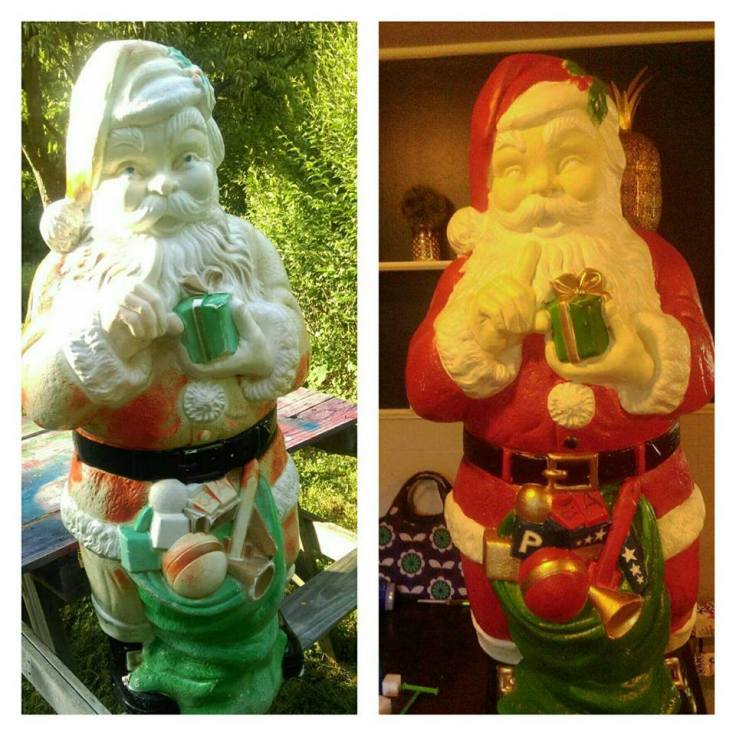
I wanted to keep most of him as original as possible.
Some changes i did make were.
- I colored the belt loops red
- I did not give him the gold beard
- I placed a” P” on a block for my last name
- The Plane went from red and gold to red,white, and blue with stars. USA!
- Ill be giving him brown eyes instead of blue.
Thats it ! Thanks for reading!